

How To Use Mailmerge Templates In Zoho Sign
Zoho Sign - Zoho CRM - Mailmerge
The Zoho Sign extension already allows you to ship documents required for signing, to any contact stored in Zoho CRM. Now, the extension will also assist yous to send customized documents using the Zoho CRM data without having ugly fixed-length placeholders. The documents will expect pretty and clean. Just create a postal service merge template, merge data from CRM, then send customized documents out for signing. For example, sales folks sending out the same agreement to different vendors, but with the different names, addresses, amounts, and so on.
Quicklinks:
- Steps to create a mail merge template in Zoho CRM
- Steps to create a template from scratch
- Steps to use the pre-designed templates
- To add together subforms in a template
- Make use of the Text Tags
Steps to create a mail service merge template in Zoho CRM
- Log in to Zoho CRM.
- Click theSetup icon on the acme-right corner.
- Navigate toCustomization > Templates > Mail Merge > Click + New Template.
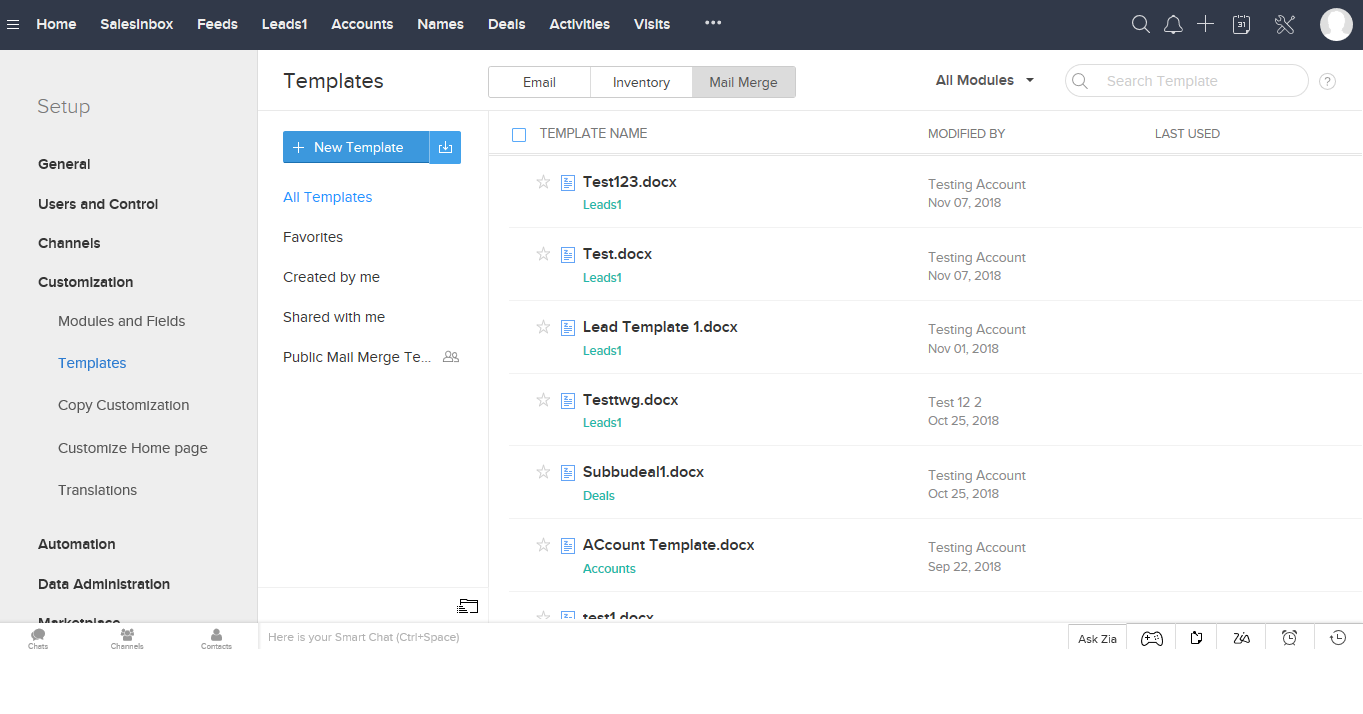
- ClickCreate New Template.
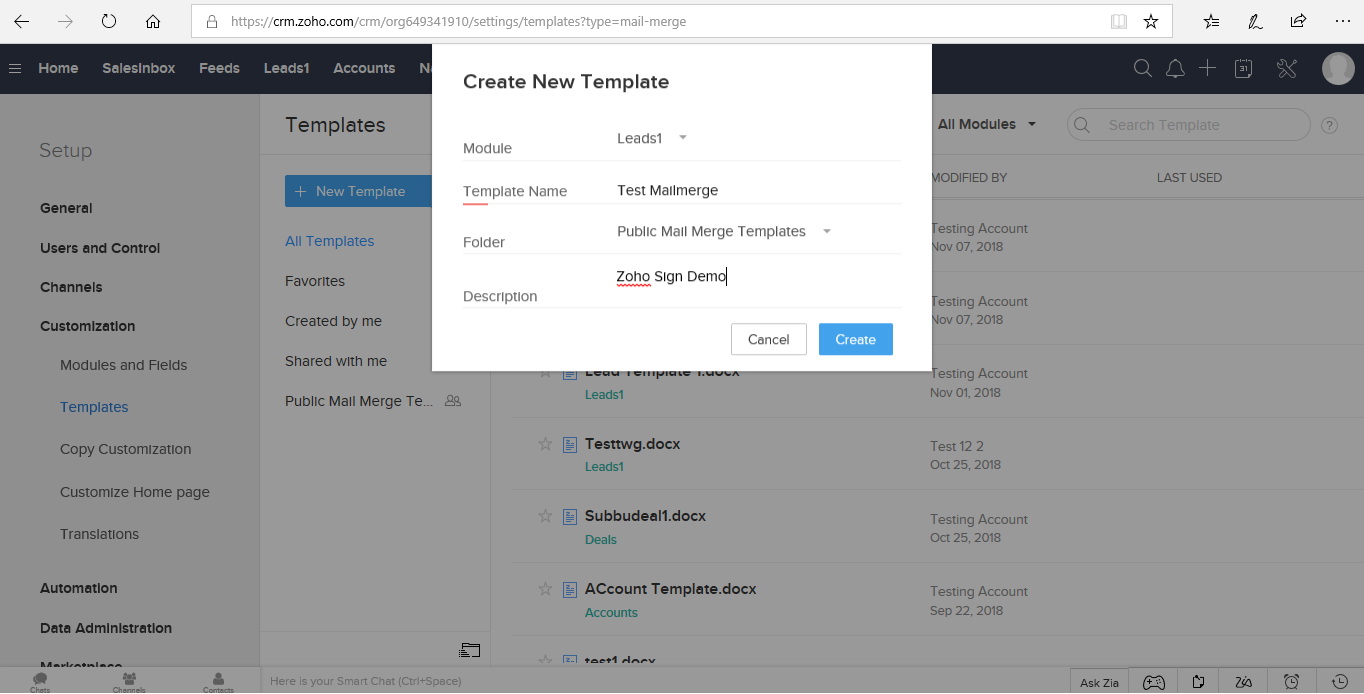
- Select theModule that you would like to create the template for.
- The merge fields in the template will be based on the module that y'all select. You lot tin can create post merge templates for both system-generated modules as well as custom modules.
- Enter the template proper noun.
- Select the folder from the drop-downwards list. The template will be stored in the binder that you select.
- Enter the description for the template.
- Click Create.
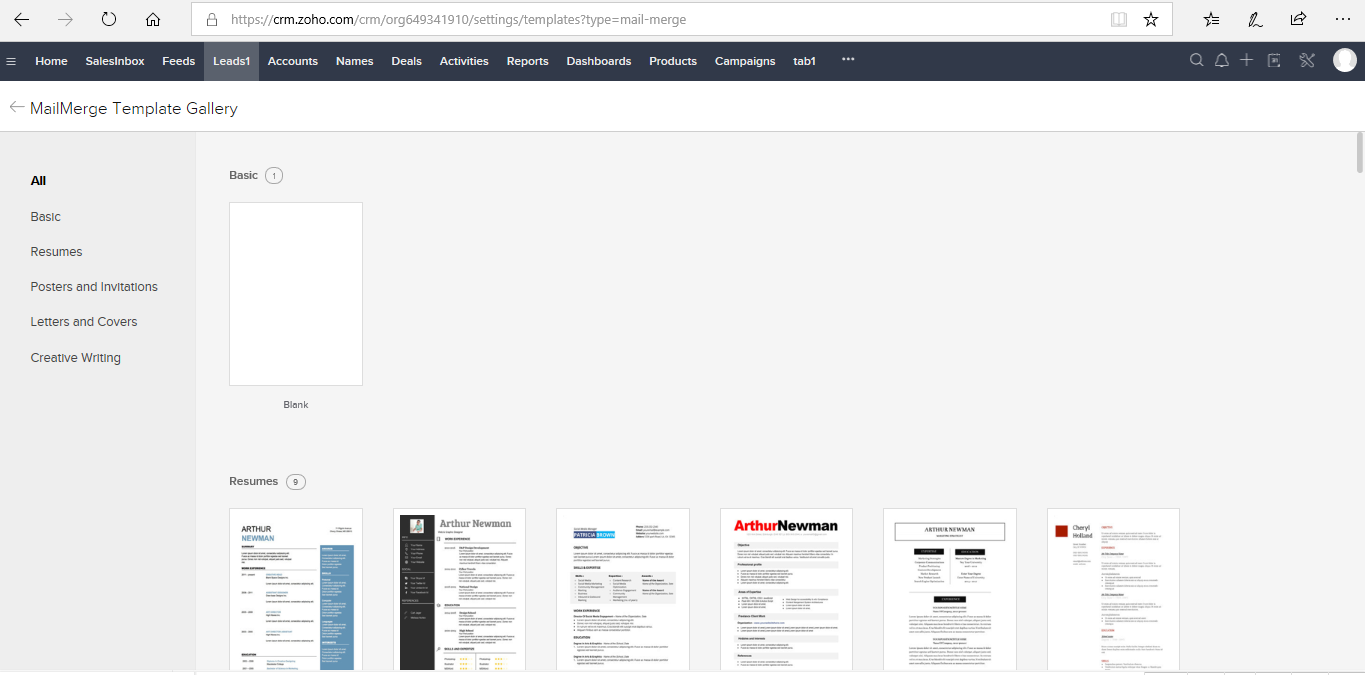
- Y'all will exist redirected to thePost Merge Template Gallery, where you can proceed to create the template in ii ways:
- Basic - Build a post merge template from the scratch
- Pre-designed Templates - Select a template from the gallery based on your requirements which displays predesigned templates from various categories such as Resumes, Posters and Invitations, Messages and Covers and Creative Writing.
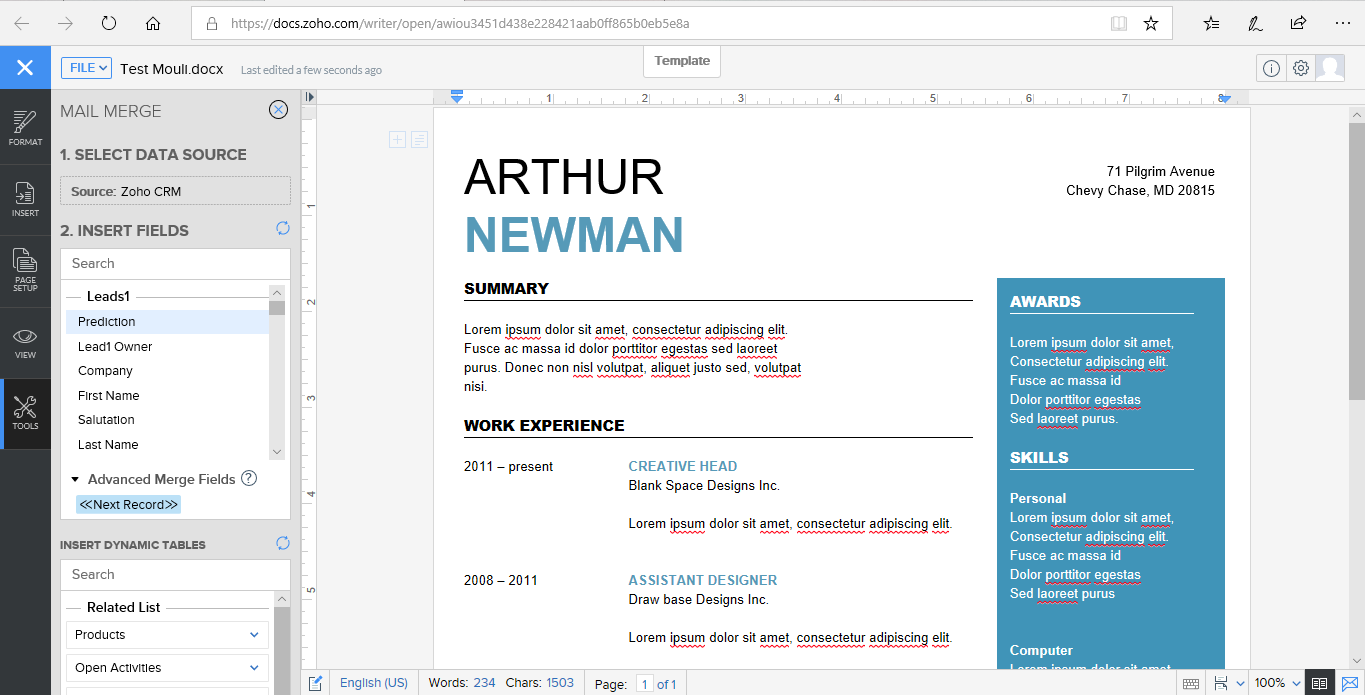
Steps to create a template from scratch:
- Cull a Blank template from the Mail Merge Template Gallery.
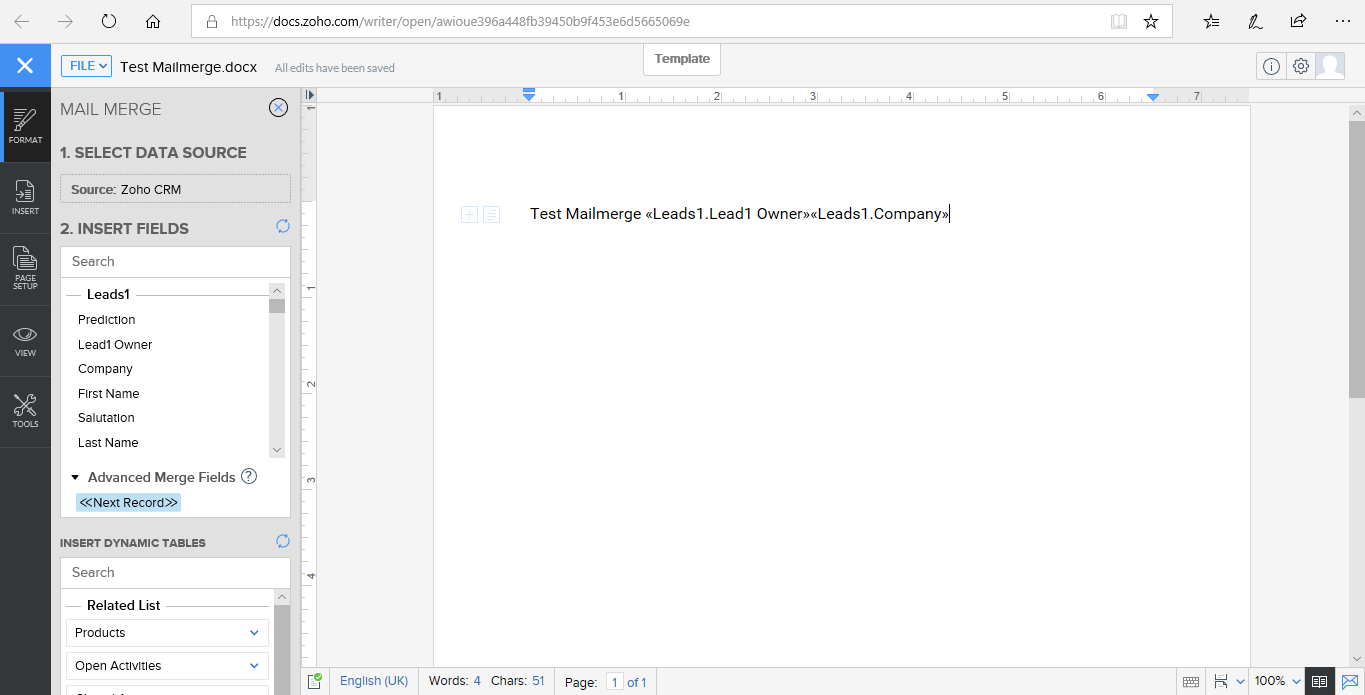
- Information technology will load a document in Zoho Writer.
- SelectMerge Fields from the Insert Fields section.
- ClickDone.
Steps to employ the pre-designed templates:
- Cull a template from the Mail Merge Template Gallery.
-
ClickSelect. This will load a document in Zoho Writer.
-
SelectMerge Fields from the Insert Fields section. The fields will exist inserted in the specified place in Author template.
-
ClickDone.
To add subforms in a template:
If you lot want to add additional information such equally warranty, guarantee details, or accessories to your template, you tin can add the subform in your template and send it to your customers instead of manually adding them.
- Become to Insert Dynamic Table in Zoho Author.
- Select the subform that y'all would like to add together in the template. A pop-up will display the listing of fields in the subform.
- Select the fields that y'all want to add together in your template.
- ClickSelect all.
- ClickCreate Table.
- Note: You tin read this section of our Zoho CRM assistance document to acquire more about creating and managing mail merge templates.
Make utilize of the Text Tags:
Zoho Sign too supports text tags. You can add them to the content of your documents and Zoho Sign will automatically add the corresponding fields when they are uploaded for the signing process. For example, when you add text tags to your sales orders, new employee contracts, and NDAs, Zoho Sign will add together the corresponding fields when these documents are uploaded for the signing process.
Text tags are supported for these fields: Signature, company, email, text fields, job title, initial, engagement, checkbox, and full name.
| {{Signature}} | A signature field added to the showtime recipient |
| {{Visitor:Recipient2}} | A visitor field added to the second recipient |
| {{Textfield:Recipient3:Address}} | A text field added to the third recipient with the field name accost |
| {{Textfield:Recipient1*}} | A mandatory text field added to the outset recipient |
| {{Jobtitle}} | A chore title added to the first recipient |
| {{Initial}} | An initial field added to the first recipient |
| {{Signdate}} | A appointment field added to the first recipient |
| {{Checkbox}} | A checkbox field added to the first recipient |
Note:
-
If the recipient number is not mentioned in the document, information technology volition be assigned to the outset recipient by default.
-
You lot can mark a text field and checkbox every bit mandatory fields using the * character.
-
Read this section of our help documentation to learn more than about text tags.

How To Use Mailmerge Templates In Zoho Sign,
Source: https://www.zoho.com/sign/help/zoho-sign-zoho-crm-mailmerge.html
Posted by: rondonsecandent.blogspot.com
0 Response to "How To Use Mailmerge Templates In Zoho Sign"
Post a Comment